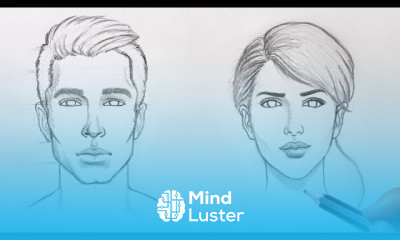
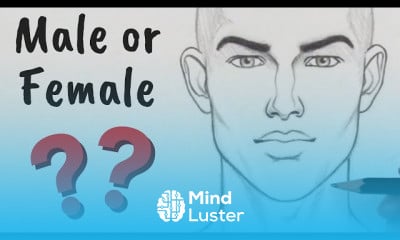
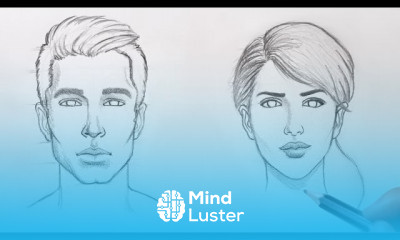
How to Draw a Face from any Angle | Part 1 Front Side View
Share your inquiries now with community members
Click Here
Sign up Now
Lessons List | 7
Lesson
Comments
Related Courses in Drawing
Course Description
Learn to Draw the Face
How to draw a face? The human face is one of the most intriguing subjects an artist can tackle. In fact, people have been drawing and painting the human face for over 27,000 years. It seems portraiture never gets old, despite it being one of the toughest categories to master. Why is drawing faces such a tricky subject? Unlike still life and landscape paintings, which can have slight variations and inaccuracies without affecting the final work, a portrait must meticulously portray the proportion, the nuances, and the features unique to the person sitting for the portrait in order to capture a true and believable likeness.
When learning how to draw a person, it takes practice, practice, practice. The good news is that you will see as you are drawing faces, they all contain the same key features – eyes, nose, mouth, ears – and once you learn to draw realistic ones, you’ll be on your way to making the necessary adjustments that reflect your sitter. Drawing tutorials that guide you step-by-step through the process of face drawing are some of the best ways to begin.
Before you start the drawing, you’ll want to pick up some really good pencils for sketching, drawing, shading, and putting in the fine details.
Pencils & Paper for Portrait Drawing
Drawing with professional-grade pencils will elevate your line quality as well as give you pencils that are made to last. Professional drawing pencils come in soft and hard leads that let you control the width and density of your lines. Arteza offers a convenient set of Professional Drawing Pencils in a Pack of 12, which includes pencils that range in hardness from 6B to 4H. These pre-sharpened pencils have high-density graphite cores, making their points extremely resistant to breaking. Besides drawing the head, these pencils are great for figure drawing, craft drawing, and drawing cartoons.
Step-by-Step Guide to Draw Faces:
Step 1:
You will begin with drawing the oval shape of the face. Draw the woman’s jaw. Sketch a vertical line down the middle. Place a horizontal line through the center of the vertical line and then draw the two additional lines of equal distance, one above the centerline, the other below it. These three equal parts indicate where the nose, eyebrows, and hair will go. Make sure the lines are the same distance apart because the proportion of the face depends on it.
How to Draw a Head - Step 1
Step 2:
When drawing the face the horizontal lines also act as markers to tell you where to put the hairline, mouth, and ears. Start with the line at the top and sketch the hairline. Add a short line down the face, about a fourth of the way between the bottom line and the chin. This is where you will draw the mouth. Draw the ears sitting between the two lines in the center of the face. To draw the top of the ear, use the middle line where the highest point of the ear will be and use the next lowest line as a guide to where the ear will end. Draw the neck.
How to Draw a Head - Step 2
Step 3:
It’s time to add eyebrows, the eyes, lips, and nose. Draw the eyebrows above the second line. To draw the nose, place the nostrils level with the bottom of the ear lobe. Then draw the lips, using the short line as the space between the top and bottom lip. Make sure to leave a small space between the bottom of the nose and the top of the lip.
To draw the eyes, place three lines across the center line for the highest and lowest points of the eye as well as the location of the inside corners of the eyes. Make sure the inside corners are perpendicular to the outside of each nostril. Place the end of the eye diagonally across from the end of the eyebrow. Next, add the eyelid and pupil.
The pupil is usually at the center of the eye, but depending on the angle of the face, it may be in a position placed a little to the right or left.
How to Draw a Head - Step 3
Step 4:
Once the facial features are in place, erase all supporting lines. Make the portrait more detailed by adding curved lines inside the ears and defining the upper and lower eyelids, the pupils, the eyeballs. Add shadows to the lips and ears to give them volume. Draw in the philtrum, the small groove in between the bottom of the nose and the top of the mouth, by making perpendicular vertical lines the width of the septum (the partition separating the nostrils). Draw the collar of her shirt. For further definition of her face, use an H pencil to lightly add cheekbones.
How to Draw a Head - Step 4
Step 5:
For a dramatic effect, use this technique known as chiaroscuro to add high contrast between your darkest and lightest areas. You can use the HB pencil and darken the pupil, leaving small white areas as highlights. Add shadows under the upper and lower eyelids. Use short pencil strokes to add shadow under the eyebrows to give the face a more realistic shape. Do the same with the lips, making the upper lip slightly darker while leaving a whiter space at the centers of each lip, which is usually where they catch the light. Add more shadowing under the lower lip, around and under the nostrils, and under the chin on the neck. The shadow will be darker along the chin line and inside the collar.
How to Draw a Head - Step 5
Step 6:
Make shadows even darker with the 4B pencil. This brings more contrast and emphasizes more details, especially around the neck and at the shirt collar. The way the light hits the hair creates the definition in the strands of hair. You can draw this and make the hair look realistic by using varying lines of light and dark, leaving one section lighter to capture the look of light shining on it. Add some lighter strokes and blend in for the skin. This will give the hair volume and it will feel less flat. Darken the eyelashes to give the woman a deeper, more thoughtful look.
Trends
Graphic design tools for beginners
Microsoft Excel
Artificial intelligence essentials
Bioinformatics basics
Cyber Security for Beginners | Edureka
Computer science careers
Build a profitable trading
Essential english phrasal verbs
Learning English Speaking
Making money with apps
Human Resources Management
Python for beginners
YouTube channel setup
Build a tic tac Toe app in Xcode
Microsoft Word
Excel skills for math and science
Marketing basics for beginners
Python programming language
Ubuntu linux
Chemistry
Recent
Bioinformatics basics
Bioinformatics databases
Vitamin A to Z tablets
Best zoology books
Best cream for piles pain
Laser surgery for piles
Best cream for piles
Anal fissure treatment
Best antibiotics for diseases
Antibodies structure
Macrophage structure
Drosophila genetics
Diagnostic tests
Bioinformatics
Genetics
Gene therapy
Kidney structure
DNA replication and types
Bacterial cell structure
Parasite structure


